


THE MUST-HAVES:
 1. MODEL & CO 4 pc brush set -
Its my first time to try their brush and I actually liked it. The bristles are not too soft and not too hard, just enough to be able to blend well and the bristles aren't harsh to the skin.
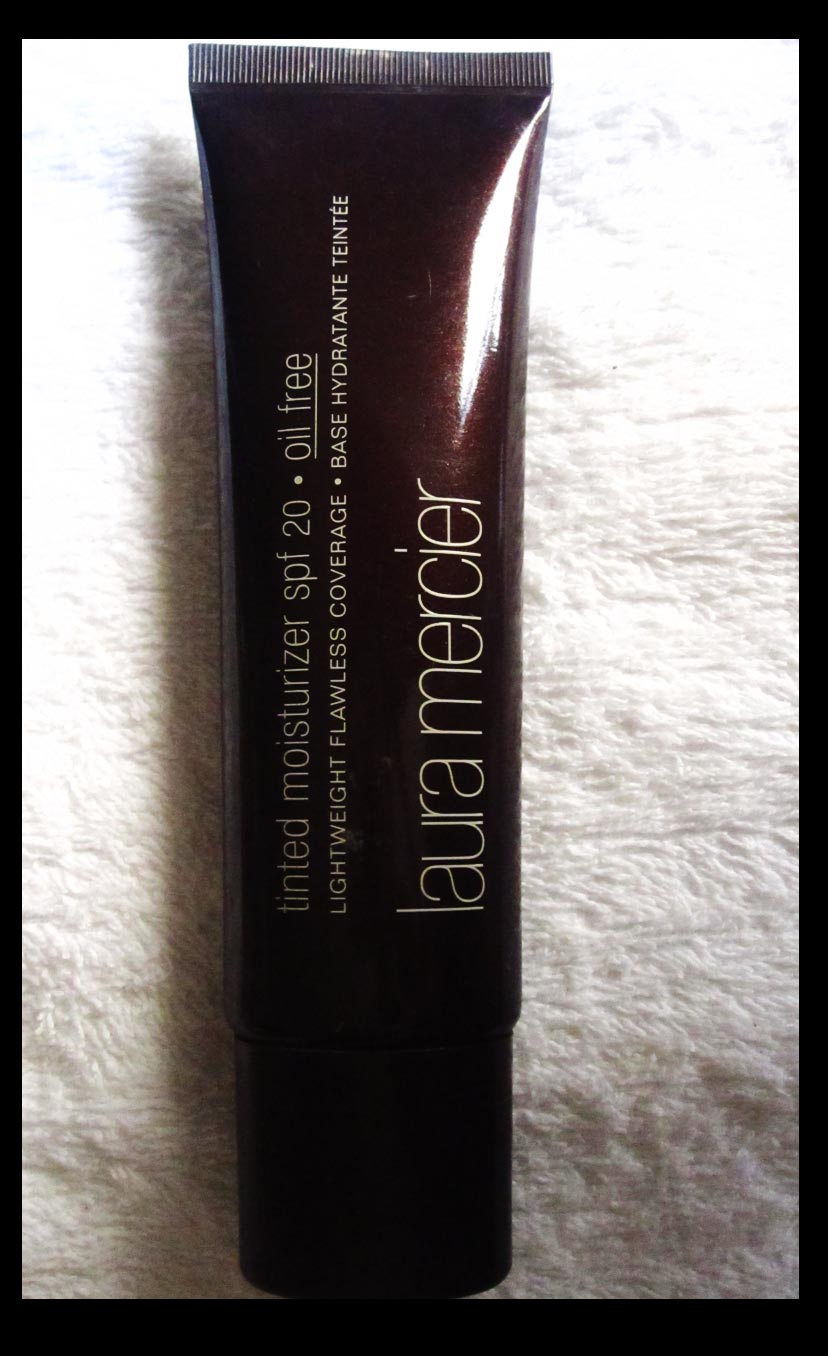
2. LAURA MERCIER Oil-Free TINTED MOISTURIZER -
This time I decided to use a tinted moisturizer instead of the usual foundation. So far this is the best tinted moisturizer I ever tried, though a bit expensive compared to other tinted moisturizers, this one has a buildable coverage giving you the same result of a good quality foundation without having its usual heavy icky feeling to the skin. ( Read more about Laura Mercier Tinted Moisturizer on my past blog entry: http://makeupjournal.blogspot.com/2008/10/laura-mercier-four-steps-to-flawless.html)

3. Model & Co Blush Cheek Powder in Peach Bellini, Bloom Lip Gloss in Gyspy, BDB (Billion Dollar Brows) A hint of tint. I got all these from Beauty Bar Philippines.

4. NARS Lipstick in Schiap - This is the hottest shade of pink lip color that you'll ever find in the market today. It has a matte finish but it glides perfectly on your lips.

5. URBANK DECAY Ink for the Eyes - If theres one product from Urban Decay that I would recommend you to buy - aside from their 24/7 eyepencils and Naked Palette , its the UD Ink for the Eyes. It comes with the applicator angled brush to create the perfect eye line and the smoldering tip that gives it a good smudge to create a smoky or natural line. It blends with ease but the product doesn't wear off easily.
Go NAKED!
 1. First of all, have your skin prepped. Do not forget to Cleanse, Tone and Moisturize. This time I used Juice Beauty toning facial mist. It smelled great and it was able to cleanse my face really well without the sting that the usual toner does to our face. Another nice thing about this product is , its organic, its all natural, so its prefect for sensitive skin. You can score this at Beauty Bar Philippines.
2. Apply your tinted moisturizer evenly all over the face. I always use a stippling brush when applying any liquid or cream foundation to my skin.
(Learn the advantage of using a stippling brush , read about it from my past blog entry here --
http://makeupjournal.blogspot.com/2011/10/beauty-bar-get-missy-lee-look.html)
3. After applying foundation or tinted moisturizer, dust enough amount of loose powder all over the face using a powder brush to set your foundation.
4. Contour - You have the option to contour or not, for daytime you can leave it as it is without contouring but for evening wear ,I advise you to contour your face to further enhance your facial bone structure . You can see the difference from picture 3 and 4 , picture 3 looks flat , while the last picture which was contoured looked so much better. This is also a must if you plan to take pictures. The contour itself gives you a complete look without adding any color to your face.
 5. Groom your eyebrows ALWAYS. Comb, snip, shave , pluck or have a threading session with a pro, I don't care but If you want your eyes to pop beautifully, always groom your eyebrows. I really don't get it why some still prefer to have a bushy eyebrows. If you think keeping your bushy- stubborn eyebrows give you the natural look, you may want to think about it again.
 (double click on the pic to see instructions)
For this particular look I used 4 shades from the Naked Palette: Half Baked, Buck , Creep and Virgin
6. Using an eyeshadow applicator brush , apply Half-Baked on to your lids until the crease line. Blend well towards the brow bone, make sure that there are no harsh lines.
7. Using your round tip eyeshadow brush, apply buck on your crease line. Blend by following the natural contour of your eyes. When blending, remember NOT to blend it too much because this might wash off the color of your eyeshadow completely. Jut use the right amount of pressure.
8. Deepen the crease in the outer corner of your eyes by applying and blending in Creep.
9. For highlights, add a touch of Virgin to your brow bone and inner corner of your eyes, blend very lightly.
 10. Put on your eyeliner, using UD's Ink for the eyes.
11. Smudge it with the smudge tip, to give it a more natural - smoky effect.
and now your look should be similar to this:
 12. Curl your lashes and add two coats of mascara. To those who refuse to use mascara, okay fine . But here's the reason why I prefer you to use a curler and a mascara:
 The left eye, obviously doesn't have a mascara on . While the right eye, looked really bigger and bolder than the other eye, and its all because of a curler and a mascara. If you're not convinced, go try it yourself. :)
A nd for the final touches, put on your Peach Bellini blush on to the apples of your cheeks , this shade goes really well on morena skin. Swipe on your Schiap lipstick and top it off with Bloom's Gypsy lip gloss and voila!

Hope you like it! ;-)

No comments:
Post a Comment